Introduction
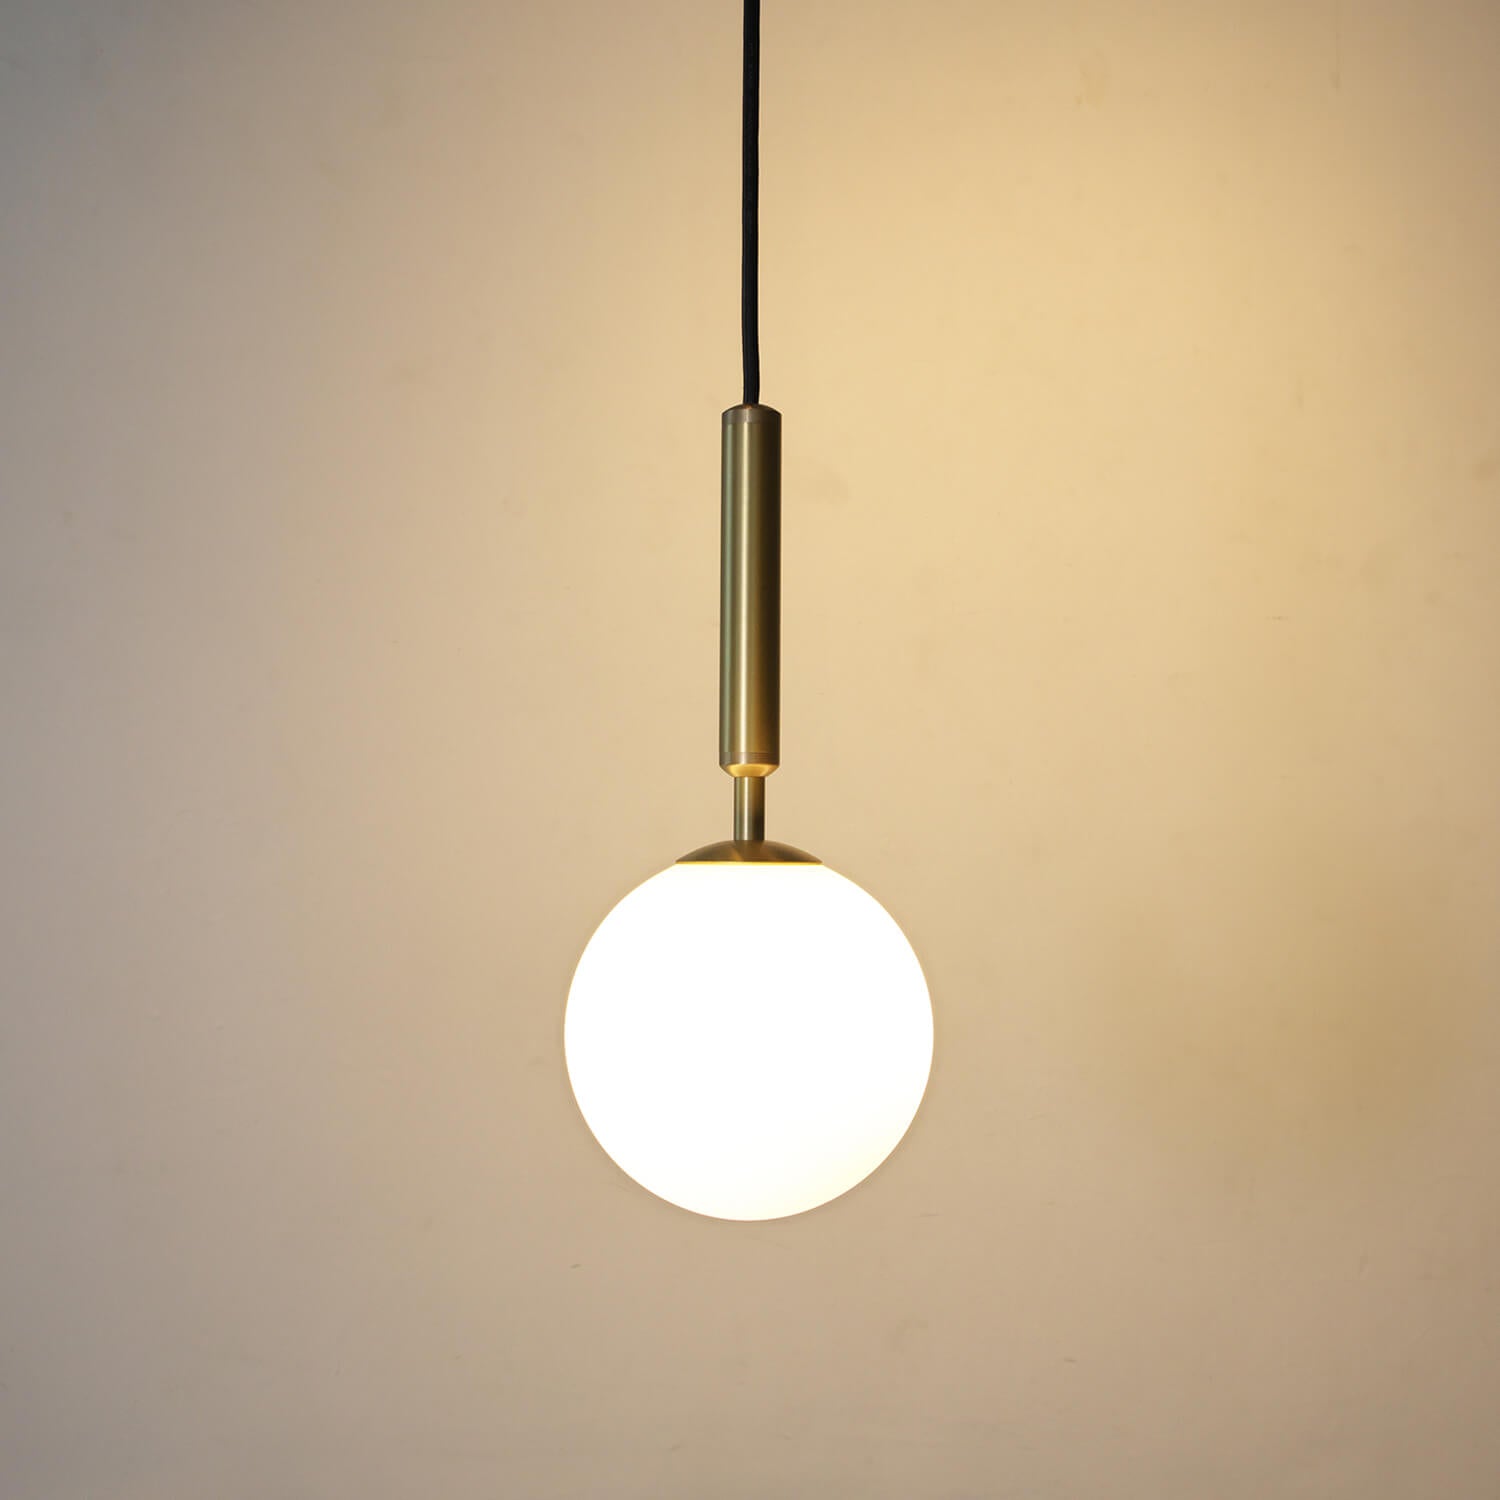
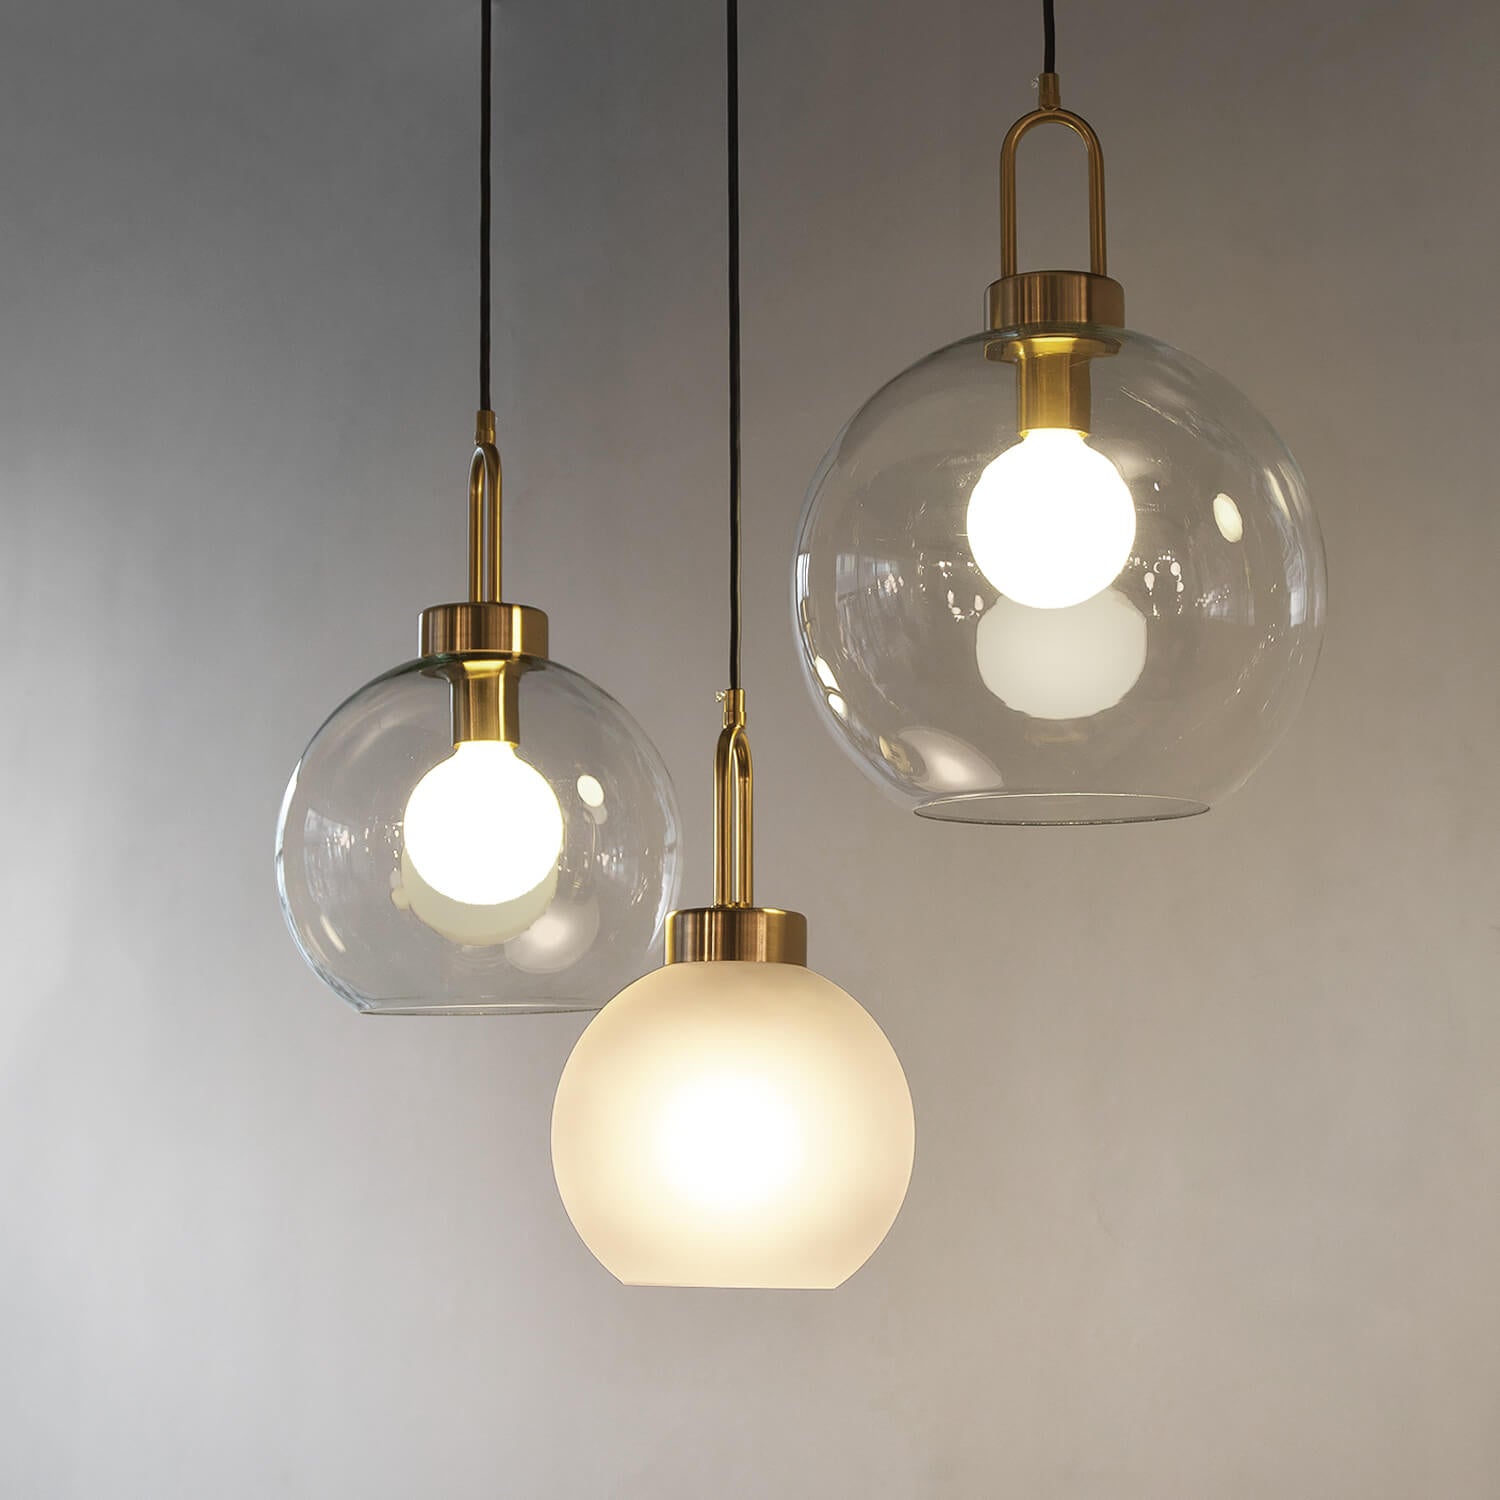
If you are looking to add a touch of classic elegance to your home decor, consider installing a schoolhouse light pendant. This pendant light fixture takes inspiration from the traditional lights found in American schools in the early 20th century, and adds an element of charm and sophistication to any room.
History of the Schoolhouse Light Pendant
The schoolhouse light pendant was first introduced in the early 1900s, during a time when electric lighting was still a relatively new concept. Due to their simple but elegant design, these light fixtures were quickly adopted by schools and other public buildings across America.
The original schoolhouse light pendant was made from opaque glass and featured a distinctive globe shape. These fixtures were suspended from the central ceiling point and provided even illumination to the entire room.
Over time, the design of the schoolhouse light pendant has evolved to adapt to changing tastes and style trends. Today, these fixtures are available in a range of finishes and materials, including metal, glass, and even natural wood.
Features of the Schoolhouse Light Pendant
One of the most appealing features of the schoolhouse light pendant is its timeless elegance. These fixtures have a classic look that never goes out of style, making them a great investment for any homeowner.
In addition to their aesthetic appeal, schoolhouse light pendants also provide functional benefits. The opaque glass shade directs the light downward, providing excellent task lighting for a variety of activities, from reading to cooking to working on a craft project.
Finally, schoolhouse light pendants are available in a range of sizes and finishes, making them a versatile addition to any home decor. Whether you are looking to add a touch of vintage charm to your kitchen or a classic elegance to your dining room, there is a schoolhouse light pendant that will fit your needs.
Installing a Schoolhouse Light Pendant
Installing a schoolhouse light pendant is a relatively simple process that can be completed by anyone with basic DIY skills. The first step is to determine where you want to install the light fixture. If you are replacing an existing light fixture, you will need to remove it before beginning the installation process.
Next, you will need to assemble the light fixture itself. This typically involves attaching the shade to the suspension rod using screws or other fasteners. Once the fixture is assembled, you can attach it to the electrical box in your ceiling using the appropriate hardware.
Finally, you will need to connect the wiring from the ceiling to the wiring on the light fixture. Depending on the specific fixture you have chosen, this may involve splicing wires together, attaching wire nuts, or using other electrical connections.
Care and Maintenance
To keep your schoolhouse light pendant looking its best, it is important to take proper care of it. Regular cleaning with a soft, damp cloth will help remove dirt and grime from the fixture’s surface. If your pendant has a glass shade, you may also want to use a glass cleaner to keep it looking sparkling and clear.
If you have metal schoolhouse light pendant, you will need to be cautious when cleaning it, as some cleaning agents can be too abrasive and scratch the surface. Instead, opt for a gentle metal cleaner and a soft cloth to avoid damaging the finish.


