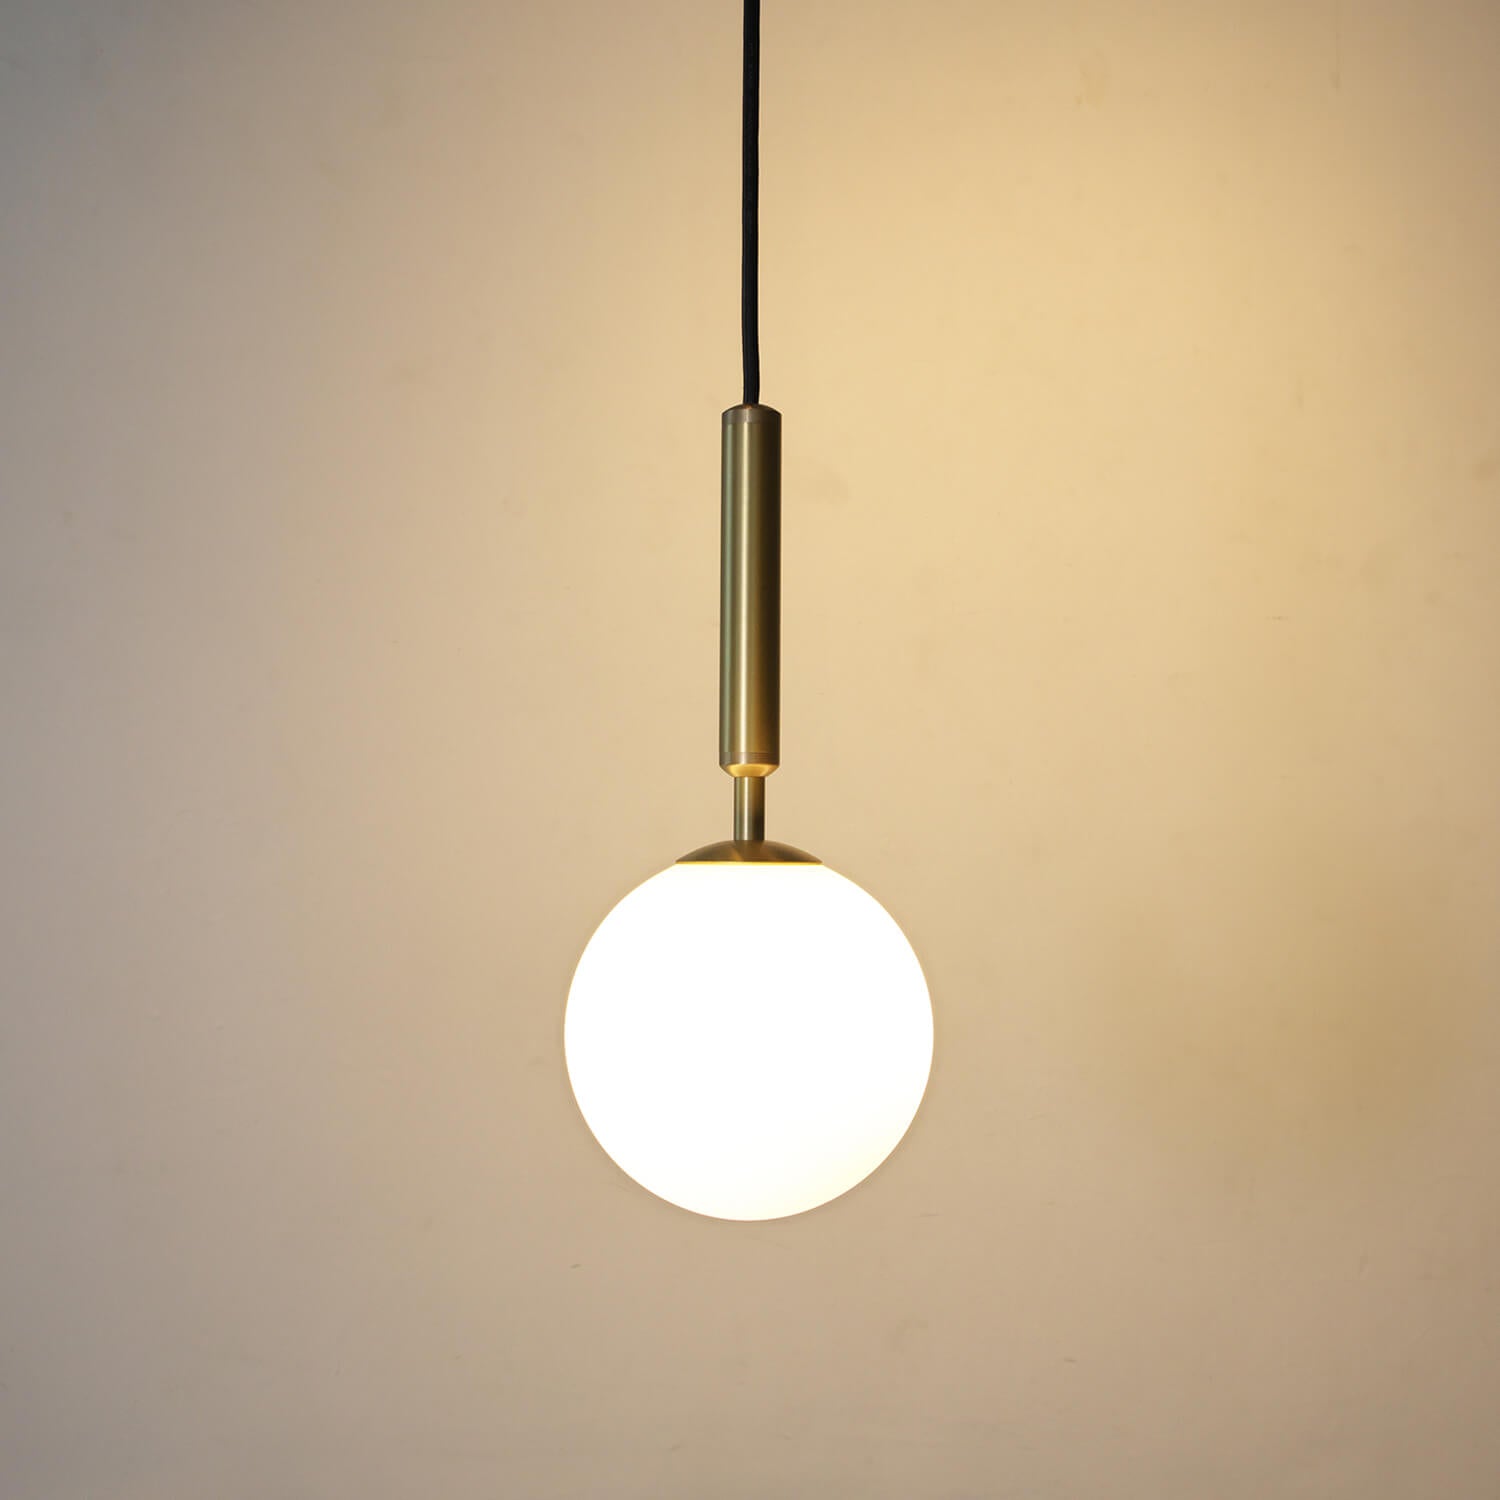
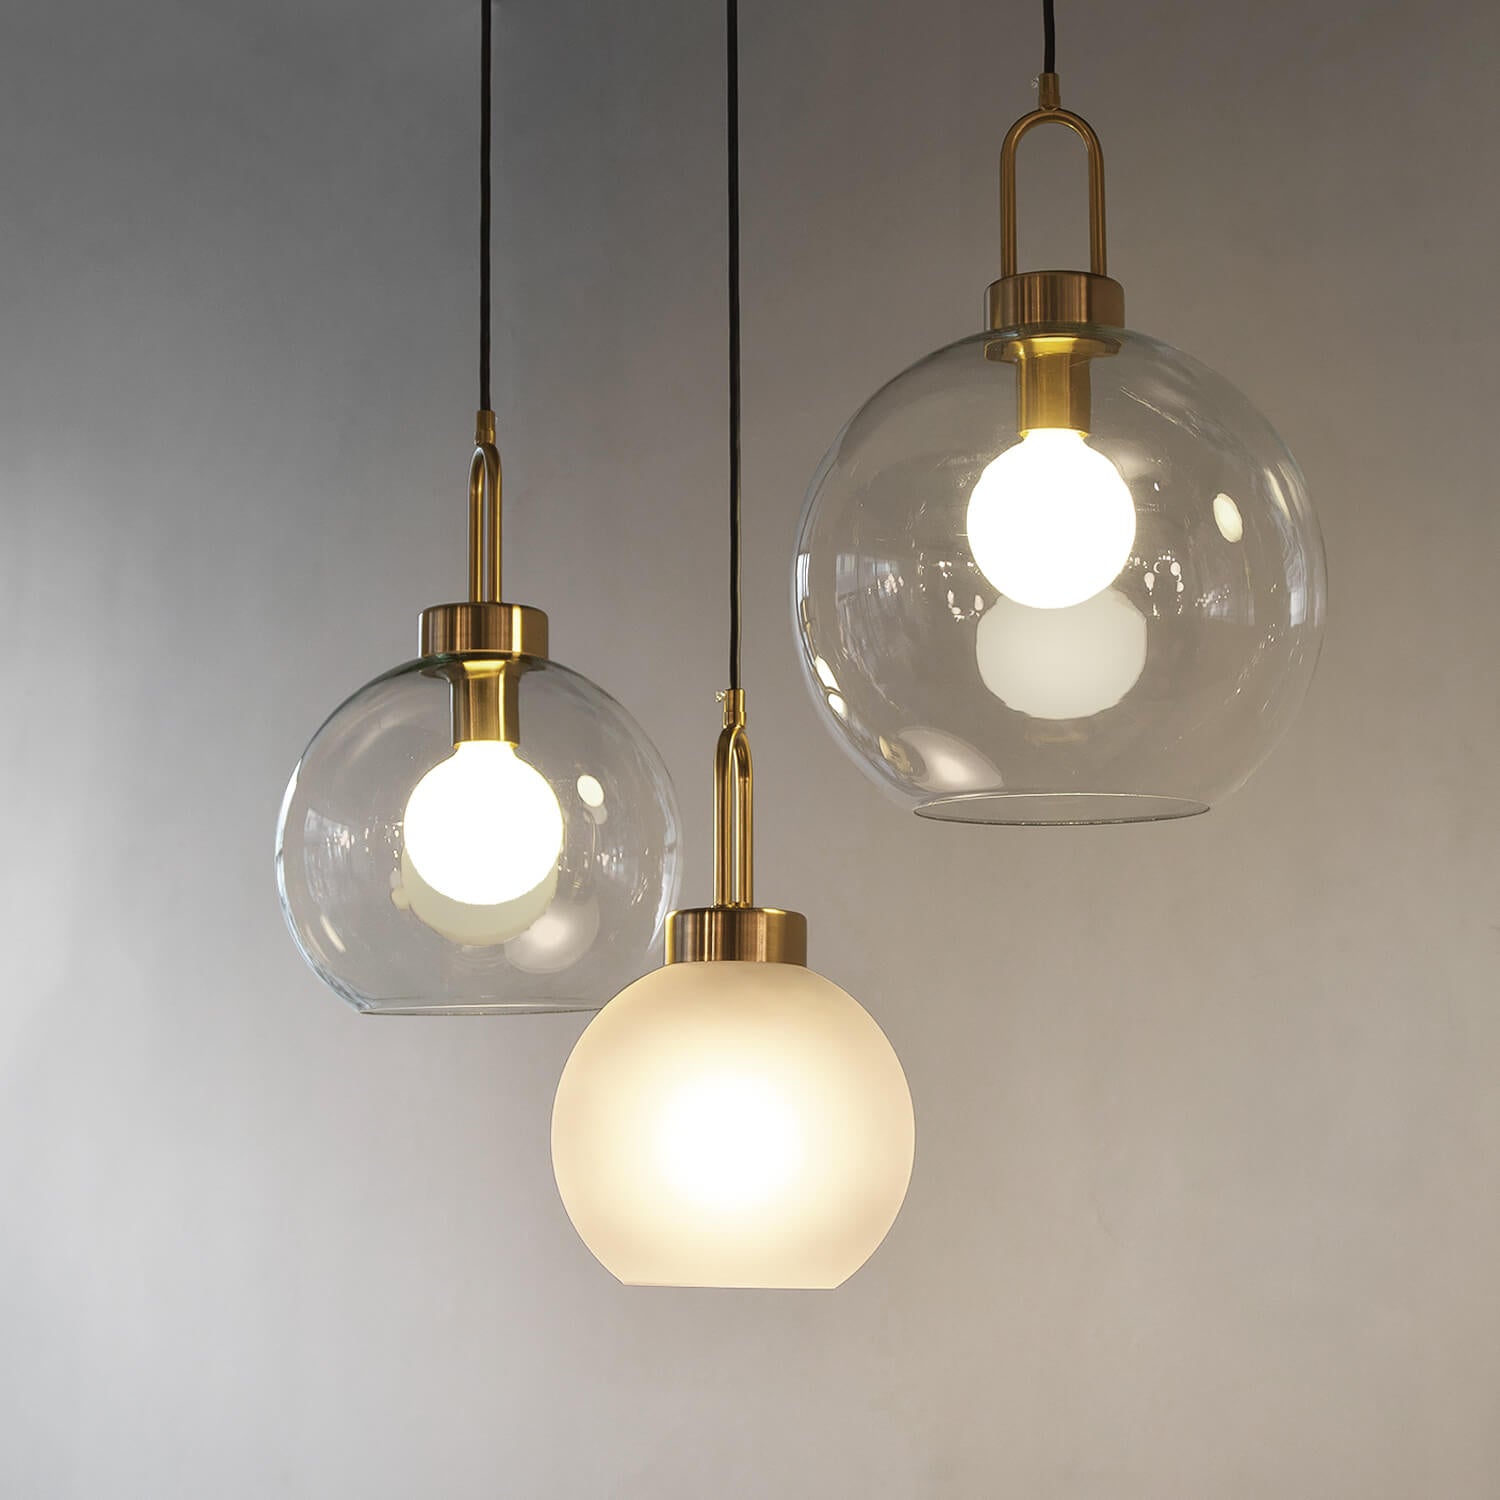
Wall lights are an excellent way to enhance the decor of your home or office. A wall light can provide both practical lighting solutions and stylish decorative features. Installing a wall light can be a DIY project that will enhance your space and add significant value while providing lighting solutions for specific areas.
Tools and Materials:
Before you start the installation process, it is essential to make sure you have all the required tools and materials. Here are the required tools and materials:
– Wall light
– Screwdriver
– Wire strippers
– Wire nuts
– Voltage tester
– Drill and drill bit
– Pencil
– Electrical tape
– Fish tape
– Wire connectors
Step-by-Step Guide:
Follow these simple steps to install a wall light.
Step 1: Turn Off the Power
Before you start any electrical work, it is vital to switch off the power supply to the area you will be working on. Go to your fuse box or circuit breaker and turn off the switch that corresponds to the area where you’ll be installing the wall light.
Step 2: Choose the Right Location
Choose the right location for the wall light. It should be in a location where it can provide sufficient light and will not interfere with furniture or doorways. Use a pencil to mark the position of the wall light on the wall.
Step 3: Drill Holes
Drill holes at the marked positions on the wall. Make sure the holes are big enough to fit the wall light mounting screws.
Step 4: Run the Wires
Run the wires through the holes and connect them to the back of the wall light. Make sure the wires are tight and not loose.
Step 5: Mount the Wall Light
Screw the mounting screws into the holes and mount the wall light onto the wall. Ensure the wall light is secure and does not move.
Step 6: Connect the Wires
Connect the wires from the wall light to the house’s electrical wiring using wire nuts. Make sure to connect the wires correctly, with the same colors.
Step 7: Test Your Work
Test your work using a voltage tester. Turn on the power and check to see if the wall light turns on. If the wall light does not turn on, you might have made a mistake when connecting the wires, and you should turn off the power and double-check your work.
Step 8: Cover the Wires
Use electrical tape to cover any exposed or loose wires. This will prevent short circuits and ensure that the wires are safe.
Step 9: Clean Up and Enjoy
Clean up any debris left from drilling and put away all the tools. Finally, turn on the light and enjoy your newly installed wall light.
Installing a wall light can be a straightforward and rewarding DIY project. Ensure that you have all the required tools and materials before you start, and follow the step-by-step guide we have provided above. If you’re not comfortable undertaking this type of task, you should hire a professional electrician. Once installed, your new wall light will add significant value and enhance the overall look and feel of your home or office.


